
Herringbone flooring is one of the most elegant and stylish patterns for any home. Its classic zigzag design adds charm and sophistication to rooms. Herringbone flooring seems to be a difficult task, but when one has the steps, tools, and patience, it is possible to have a professional look. In this all-inclusive guide, we shall discuss steps of laying the herringbone flooring, success tips, and factors to consider in achieving a long lasting finish.
What is Herringbone Flooring?
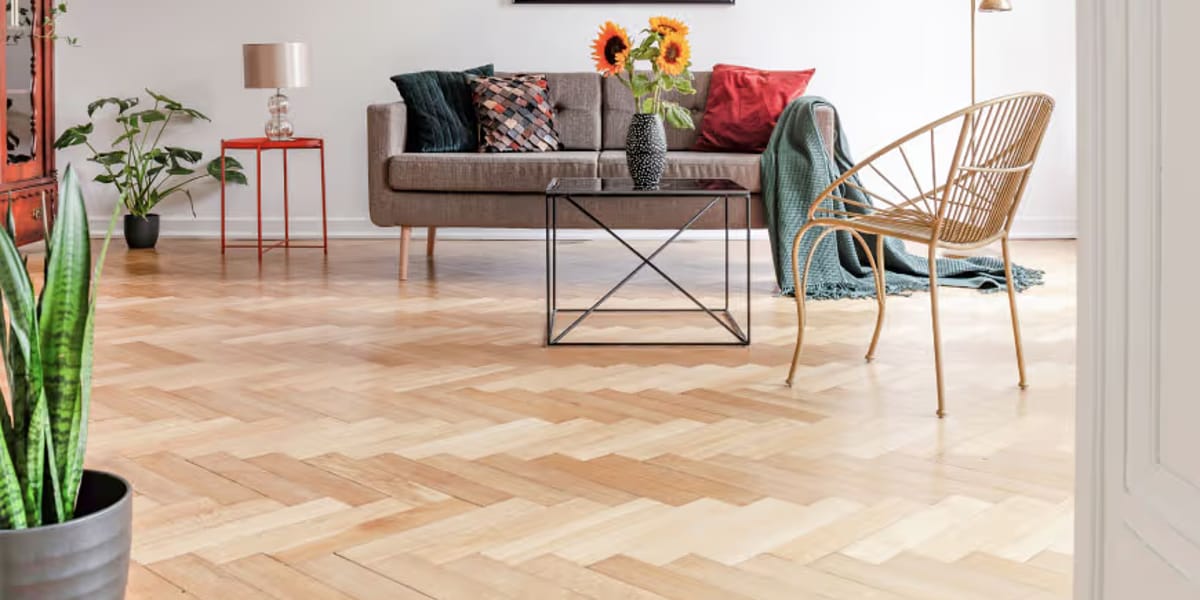
Herringbone flooring is a pattern made by placing rectangular wooden planks at a 90-degree angle to create a V-shaped zigzag. The herringbone pattern moves the room and adds depth as opposed to a regular straight-laid flooring. It goes well with oak, walnut, and engineered timber and is applicable in both small and big rooms.
Tools and Materials Needed
Gather the tools and materials you will need to lay herringbone flooring before you begin:
- Herringbone wooden planks
- Tape measure
- Chalk line or laser level
- Wood adhesive
- Notched trowel
- Flooring spacers
- Mallet and tapping block
- Saw (for cutting planks)
- Safety gloves and goggles
Having all the tools ready will make the process smoother and reduce mistakes.
Step 1: Prepare the Subfloor
The subfloor should be prepared first. Your surface should be dry and clean and leveled. Clear any old floor and nails or dust. When there are some uneven spots on the floor, apply a leveling compound to make a smooth surface. A properly done underfloor base will put your herringbone pattern in the right position and stay there years.
Step 2: Measure and Mark the Center
Proper measuring is the main point in proper herringbone layout. Measure the width and length of the room in order to determine the room center. Mark a chalk line or laser level on the center of the room with 2 intersecting lines. These lines will serve as your guide to first planks and they will serve to keep the pattern straight.
Step 3: Apply Adhesive
Spread wood adhesive evenly on the subfloor using a notched trowel. Work in small sections to prevent the adhesive from drying before you place the planks. Make sure the adhesive layer is consistent, as this helps the planks stick properly and prevents gaps.
Step 4: Lay the First Row
Start at the center point and lay the first two planks in a V-shape along the chalk lines. Ensure the ends meet tightly. Use a mallet and tapping block to secure the planks without damaging them. This first row is crucial because it sets the foundation for the entire pattern.
Step 5: Continue the Herringbone Pattern
Once the first row is in place, continue adding planks along the V-shape. Place each plank at a 90-degree angle to the previous one. Check alignment regularly to avoid a crooked pattern. Use spacers along walls if necessary to maintain even gaps for expansion.
Step 6: Cut Planks to Fit
When you reach the edges of the room, planks will need to be trimmed. Measure carefully and cut planks to fit using a saw. Always wear safety gloves and goggles when cutting wood. Make sure cut pieces match the angle of the herringbone pattern for a seamless look.
Step 7: Allow Adhesive to Set
After all planks are laid, allow the adhesive to set according to the manufacturer’s instructions. Avoid walking on the floor until it is completely dry. Proper curing ensures a stable and durable floor.
Step 8: Add Finishing Touches
Remove spacers and install skirting boards or trim to cover gaps along the walls. If needed, apply a finish or sealant to protect the floor from wear and tear. A good finish will also enhance the color and texture of the wood.
Tips for a Perfect Herringbone Floor
- Take your time measuring and aligning planks; rushing can cause mistakes.
- Use high-quality adhesive to prevent planks from lifting.
- Check for level often to avoid uneven surfaces.
- Maintain consistent gaps along walls for wood expansion.
Additional Considerations
When planning your herringbone flooring, think about your home’s other renovation needs. Herringbone floors work beautifully in loft conversions, giving modern apartments a luxurious touch. They also fit well in homes undergoing property refurbishment, enhancing overall aesthetics.
For safety, make sure you are prepared for emergencies during installation. Have emergency services contacts handy in case of accidents or unexpected situations. Safety is always important when using tools and cutting materials.
Conclusion
Laying herringbone flooring may take patience and precision, but the result is stunning. By following these steps, preparing the subfloor, measuring carefully, and taking safety precautions, you can achieve a professional finish that adds beauty and value to your home.
Contact GSM Builders Ltd for all flooring needs, and get expert guidance and installation for a perfect herringbone floor.